It has always been possible to construct tests in XJEase which were conditional on something else having happened, or a previous test having passed, but the new v3.5 release includes a number of major enhancements to the setup, running and control of tests in XJDeveloper and XJRunner, some of which make conditional testing much easier to setup, control and debug.
Conditions can now be put into the list of XJRunner tests and automatically evaluated as the tests run. They show up as a question mark in the XJRunner test list, and in the same way that users with Enhanced Testing privileges have always been able to adjust which tests run, they (and XJInvestigator users) can also now override conditions to be (temporarily) true or false. Users without this privilege, as before, run the test list as set up in XJDeveloper and cannot change it.
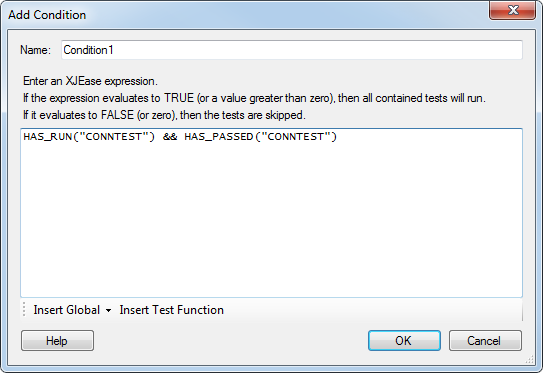
Conditions can be based on global variables from the test system (data read in from a previous test, serial number or part number, MAC address etc), the results of previous tests, or whether or not a previous test has been run. They are written in XJEase but made easier with some helpful buttons to add snippets for you. To add a condition , simply open the XJRunner Setup screen, select the test group (or function) that you wish to set a condition on, and press Add Condition to open the dialog.
Examples of conditional testing might be simple – an I2C EEPROM where one test checks the device is answering to the expected address, or checks the existing contents of the EEPROM and only if the EEPROM is present and blank does the system program the serial number, MAC address etc.
Or they might read the board variant by reading voltages on the PCB, and then select a suitable flash image to program… the possible options are huge.
In order to use conditional testing, XJRunner needs to have the “Continue testing on test failure” option set – though XJDeveloper will prompt you to do this if it is not already set when you add a condition for tests running.
Leave A Comment