XJTAG 4.1 adds support for the newly released XJLink-PF40, XJTAG’s new test controller. Projects in XJDeveloper can now be set up for use with an XJLink2 or an XJLink-PF40 or both.
The new panel on the left of the Pin Mapping screen allows you to add or remove types of XJLink from the project, and the pin mapping for the selected XJLink type can be modified using the controls on the right. Additionally, the Supported XJLink Types list shows which type of XJLink is currently in use, signified by the icon on the right of the item – for example, in the image below, an XJLink-PF40 is currently connected.
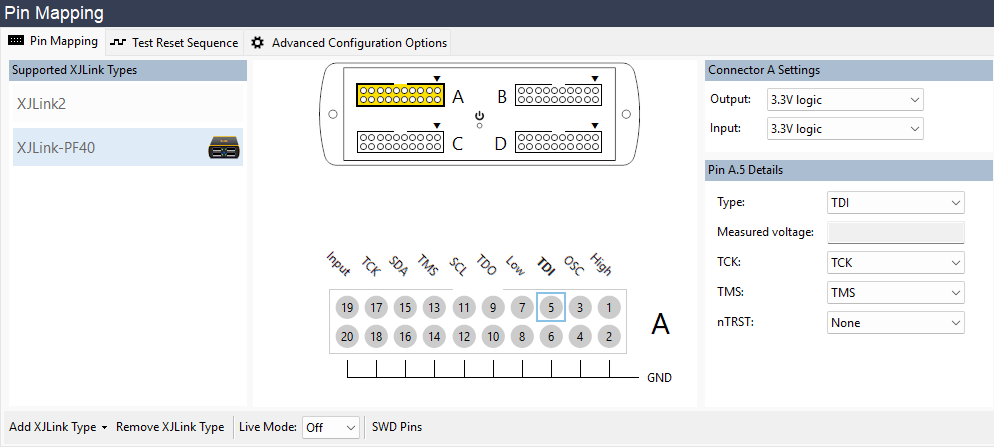
The XJLink-PF40 has four connectors, and the map at the top allows you to change which connector is currently being displayed. Right-clicking on a connector in the map opens a context menu with options to manipulate the pin assignments on entire connectors at once, rather than having to make the changes one pin at a time. Modifying settings for individual pins on the XJLink-PF40 is done in the same way as for pins on the XJLink2, and this behaviour is unchanged from previous versions of XJTAG.
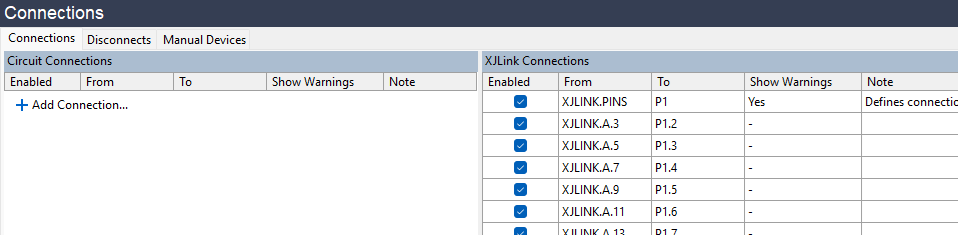
The Connections screen in XJDeveloper has also been updated to make it easier to see which connections relate to the XJLink hardware – these connections are now in their own section on the right. Connections to the XJLink2 are still shown with “XJLINK.PINS”, but connections to the XJLink-PF40 will refer to the specific connector involved. For example, connections to connector A will appear as being from “XJLINK.A”.
Leave A Comment