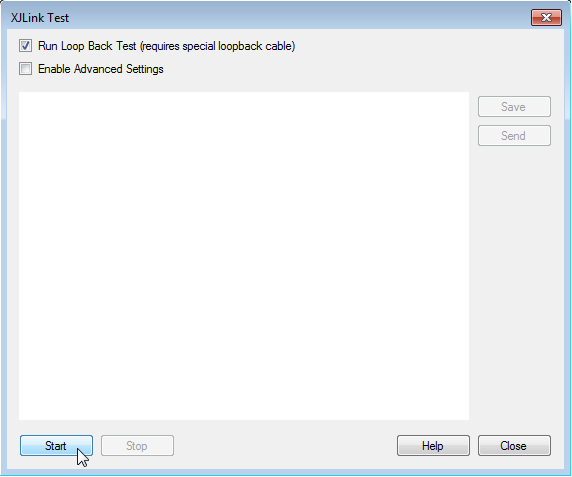
We understand that sometimes (for your own sanity if nothing else) you need to test that your test equipment is working. For this reason, it is possible to run a health-check on XJLink2 hardware (and XJLink2-based hardware) using the self-test feature available in the XJLink Manager.
The self test can be run with or without a loopback connector but should never be run with the XJLink connected to test hardware.
To run the XJLink2 self test:
- Disconnect the XJLink2 from any hardware.
- Open the XJLink Manager either from the Windows Start menu or by double clicking on the
 icon in the Windows system tray at the bottom right of the screen.
 - Select the XJLink2 you wish to test in the XJLink Manager application then click the Test button.
- On the XJLink Test dialog, if you want to use a loopback cable check the Run Loop Back Test then click the Start button. Otherwise just click the Start button.
If you have recently obtained XJTAG you may have been supplied with a loopback connector. If not, or if you have lost it, you can create your own cable, in which pin 1 needs to be connected to pin 11, pin 2 to pin 12, pin 3 to pin 13, etc., until pin 10 connects to pin 20. Using a loopback cable/connector will increase the proportion of the XJLink2 which can be tested by the self-test..
If the self-test should report any failures please check that nothing except a loopback cable is connected, and also do read the output text – it may tell you what to do to fix the problem. But if not, or if you do not understand the error, please contact XJTAG (send us a copy of the test report) and we can discuss the best way to get your XJLink2 repaired.
Also please note that the XJTAG’s original XJLink had no self-test feature – if you believe you have a problem with your original XJLink hardware, please contact XJTAG and we can discuss how to verify the unit and any necessary repairs. (The original XJLink is a USB-based controller with no push-button or LEDs)


Leave A Comment